Double Commission WIP second dog...
my husband suggested i do this dog more gradually for you instead of simply scanning it when i finish like the last one....sorry about that.
here's a more in depth view of the second dog taking shape. The colour is awful because of the lack of contrast but it pops into focus more once the darks are in. Makes me think the eye must work the same way, because it looks awful till the last minute.
here's the first bit of yellowy fur...
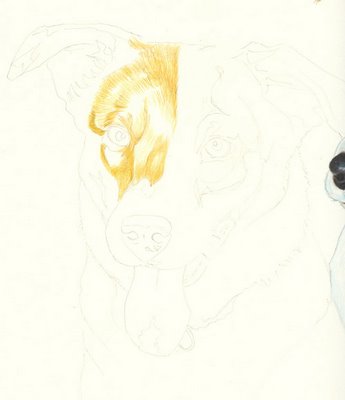
This is most of the coloured fur done with the base colours. note the very shiny nose of the other dog...as if he cant wait to see it improve either!
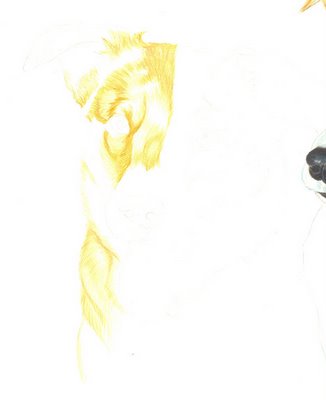
Here I have filled in the right ear area and begun modelling the head. I hadnt concentrated so much on the fur direction before on the other dog but here i am trying to make her look really soft and fluffy. I have mostly invented it as the photo was quite small, but i think she looks good.
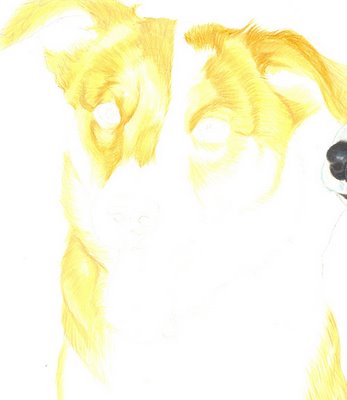
Now for the fun bit, all the hard work pays off when you put the darks in. This is only some dark browns but it really makes the whole thing jump into focus suddenly. She does look a bit like a zombie dog without any eyes though.
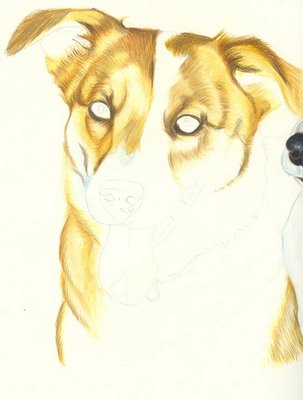
My personal favourite part of a dog is the nose (to draw obviously) and this is no exception. The shape and texture of a dogs nose make it a very pleasantly rubbery thing to draw. I have also done her tongue. This is the first portrait of an open mouthed dog i've done, and i'm happy with how the tongue turned out. I'd love to do a really detailed close shot of a big jowly dog so i could have some more gum and lip practice, but that will have to wait for now.
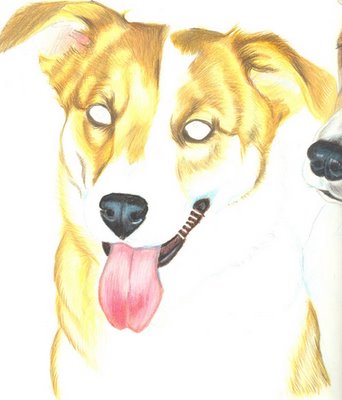
Now with the tongue done, the blues of the white fur can be put in to make it "Glo-White" sparkly, like getting your dog washed as its drawn! The eyes are put in, and made the same velvety brown as the others eyes, as the black in the photo was probably just the flash. I think this one can be called done.
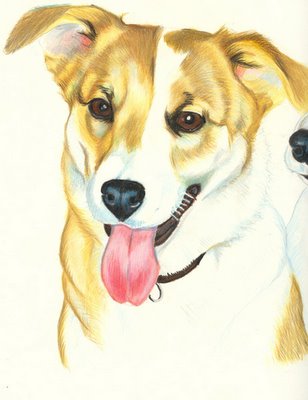
A couple of tweaks here and there, and the first dog is similarly done!
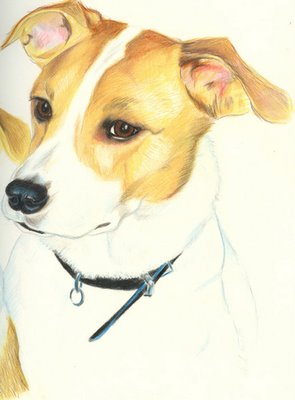
Hope this giant post has been informative!
here's a more in depth view of the second dog taking shape. The colour is awful because of the lack of contrast but it pops into focus more once the darks are in. Makes me think the eye must work the same way, because it looks awful till the last minute.
here's the first bit of yellowy fur...

This is most of the coloured fur done with the base colours. note the very shiny nose of the other dog...as if he cant wait to see it improve either!

Here I have filled in the right ear area and begun modelling the head. I hadnt concentrated so much on the fur direction before on the other dog but here i am trying to make her look really soft and fluffy. I have mostly invented it as the photo was quite small, but i think she looks good.

Now for the fun bit, all the hard work pays off when you put the darks in. This is only some dark browns but it really makes the whole thing jump into focus suddenly. She does look a bit like a zombie dog without any eyes though.

My personal favourite part of a dog is the nose (to draw obviously) and this is no exception. The shape and texture of a dogs nose make it a very pleasantly rubbery thing to draw. I have also done her tongue. This is the first portrait of an open mouthed dog i've done, and i'm happy with how the tongue turned out. I'd love to do a really detailed close shot of a big jowly dog so i could have some more gum and lip practice, but that will have to wait for now.

Now with the tongue done, the blues of the white fur can be put in to make it "Glo-White" sparkly, like getting your dog washed as its drawn! The eyes are put in, and made the same velvety brown as the others eyes, as the black in the photo was probably just the flash. I think this one can be called done.

A couple of tweaks here and there, and the first dog is similarly done!

Hope this giant post has been informative!


0 Comments:
Post a Comment
<< Home